
How to run a Tari Node on Windows 10
By Blue. Edited by Natasha Haripersad.
So you want to run a Tari node? Whether you want to mine for Tari or just run a node, this complete guide will have you up and running in no time.
Step 1: Downloading and installing the Tari Windows Binaries
Downloading the binary
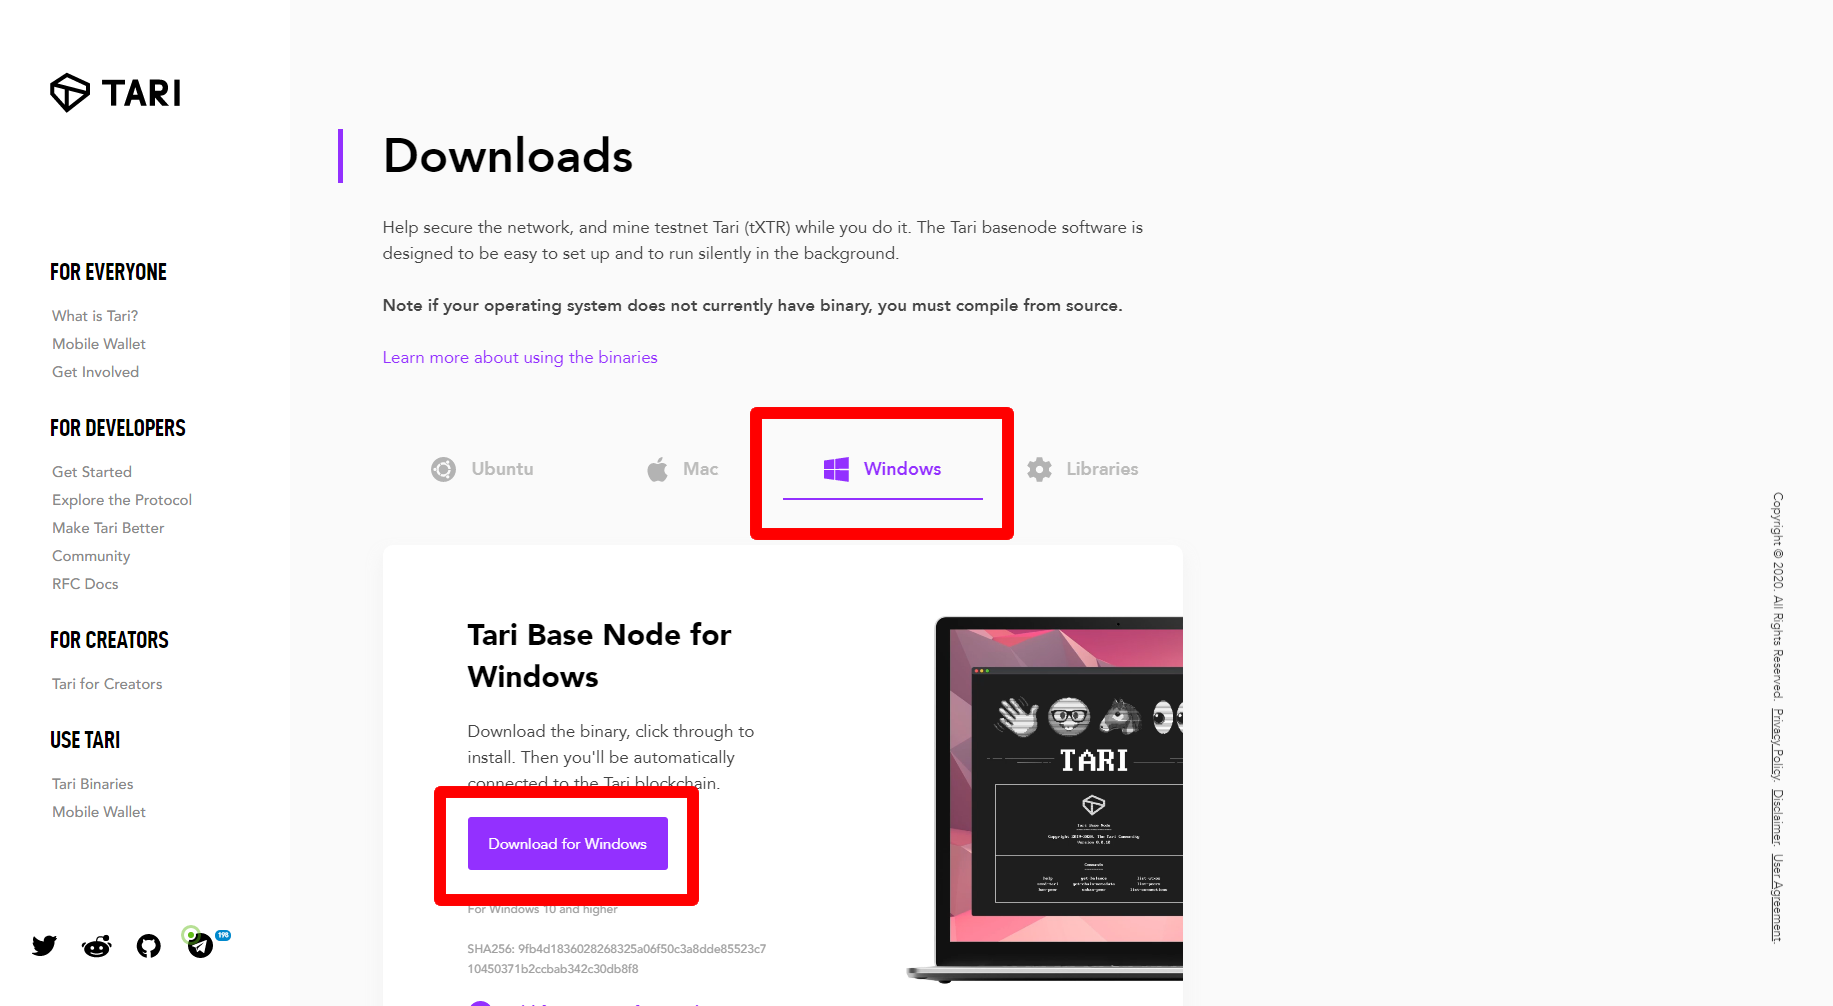
Go to https://www.tari.com/downloads/, click on the Windows tab, then click on the Download for Windows button.
Save it to your downloads folder, or a place where you can easily remember where it is and how to find it.
Do not run the exe just yet! We should verify the SHA256 hash of your exe first.
Verifying Tari’s hash
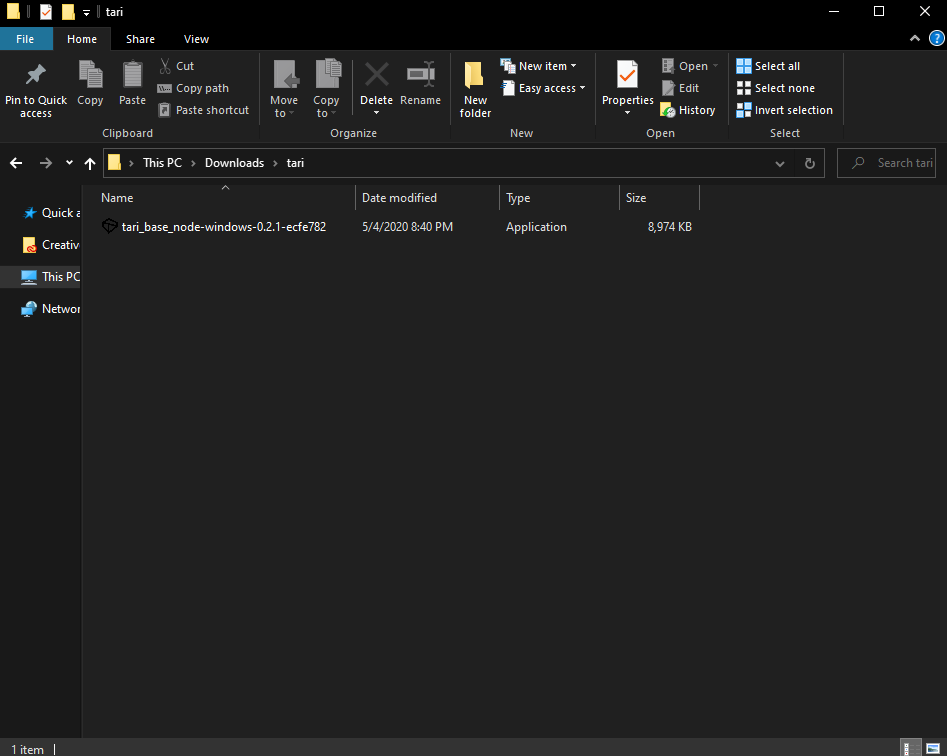
Go to the folder where you downloaded your exe.
In the address bar, type "cmd" (without quotes)
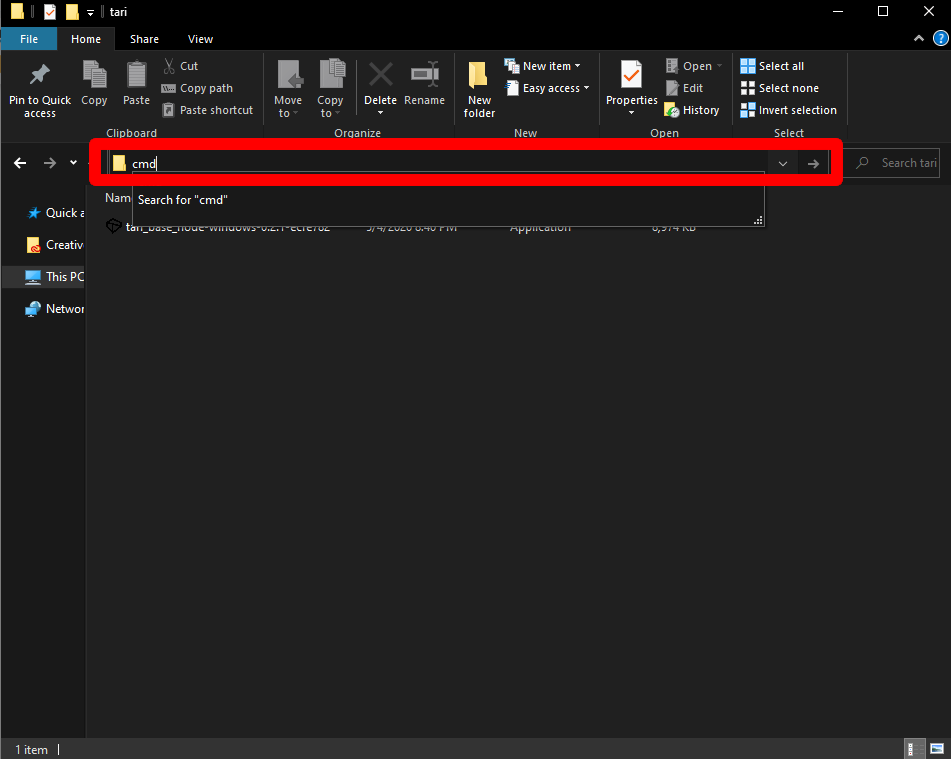
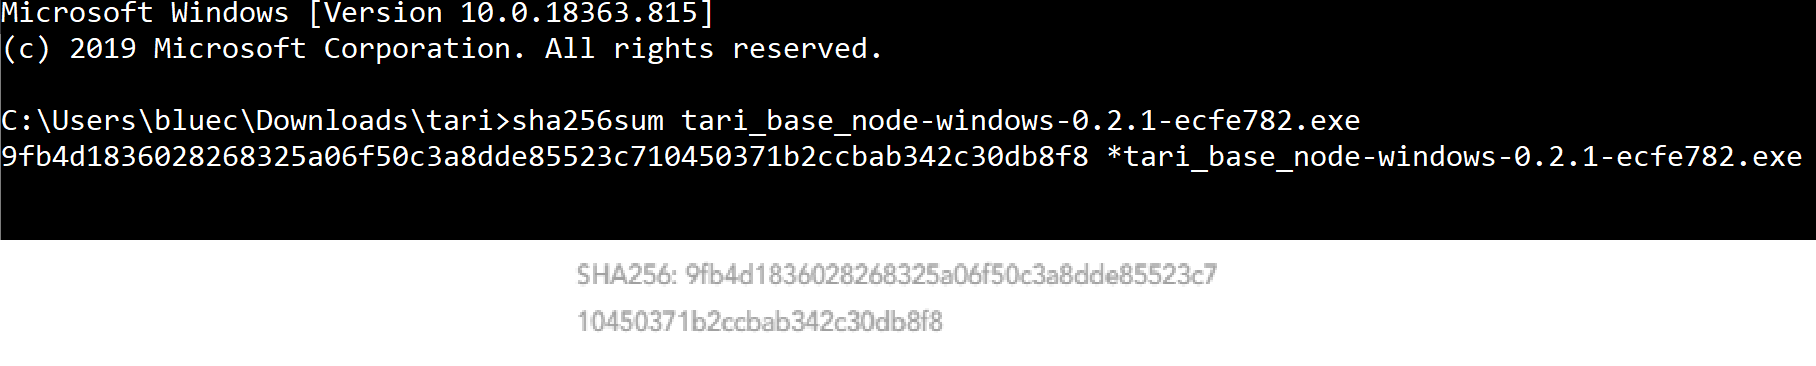
This will open command prompt. Type in "sha256sum NameOfTariExe.exe" (without quotes). For example, if the Tari exe was called "tari_base_node-windows-0.2.1-ecfe782", you would type in "sha256sum tari_base_node-windows-0.2.1-ecfe782.exe" (without quotes).
Here are two hints to make this easier:
- You can copy the text sha256sum and then use Ctrl + V to paste the text into command prompt.
- If you press the Tab key, Windows will autofill any text you wrote in with what it thinks you are trying to type.
Writing "sha256sum tari_base_node-windows-0.2.1-ecfe782.exe" by hand is a lot of work, but if you were to write "sha256sum tari" and then press Tab, Windows will do the rest of the work for you. Keep in mind; however, if you have other files that start with the name Tari, they may show up before the one you are looking for.
Once you typed it all in, press enter and you will see a long string of numbers. Back to https://www.tari.com/downloads/, under the Download for Windows button, you will see "SHA256:" and a long string of numbers. Verify that these two numbers match. If you want to be extra sure you have the right numbers, disconnect a mobile phone from your home wifi and check the Tari page from there.
Installing Tari
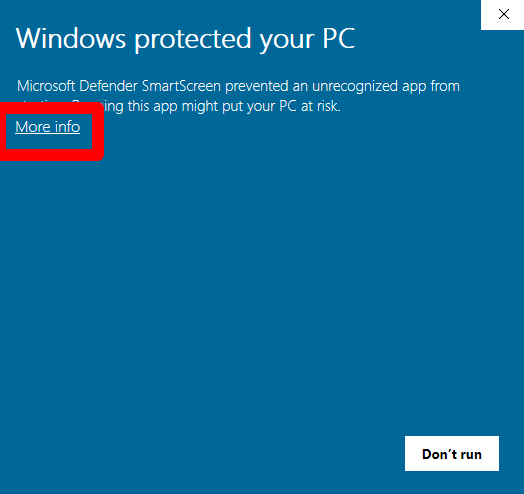
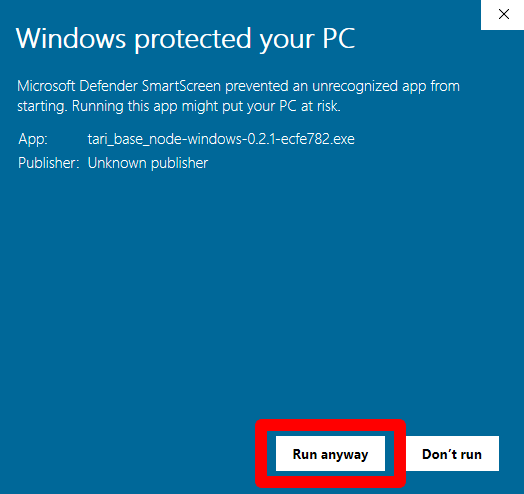
Run the Tari exe. If you get a message from Microsoft Defender SmartScreen saying "Windows Protected your PC, click on More info, then Run anyway.
If you get a message from User Account Control asking if you want to allow this app to make changes to your device, click Yes.
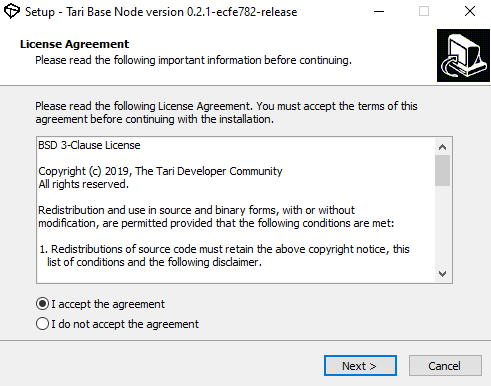
Read and agree to the short License.
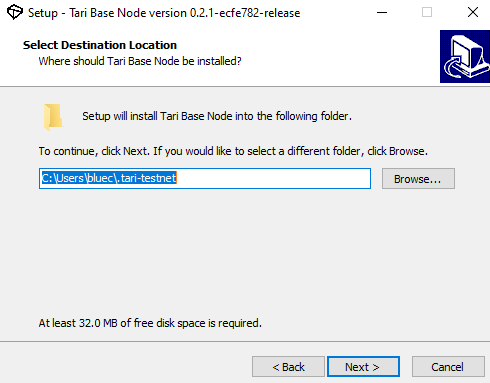
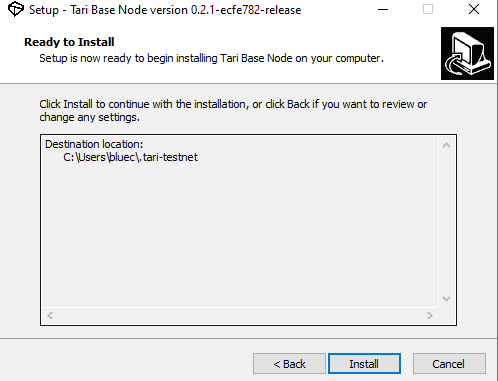
Save the location of the Tari install for later
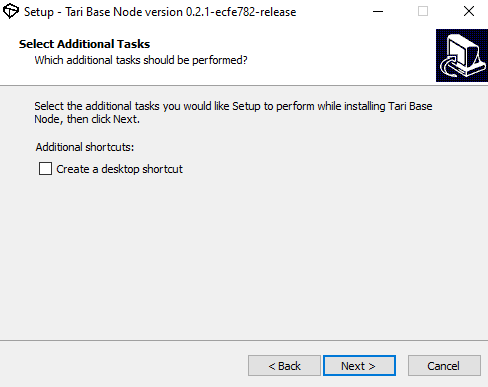
You can have Tari create a start menu folder if you'd like, but we won't be using it for this tutorial.

You can have Tari create a desktop shortcut if you'd like, but we won't be using it for this tutorial.
Click install
Press Next

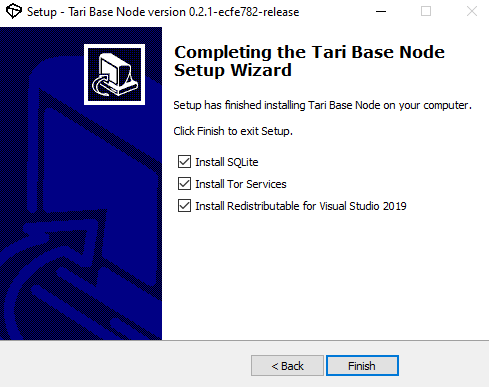
Make sure all are clicked and press Finish
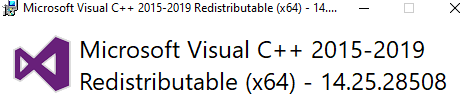
Tari will now start downloading extra dependency automatically. Once you get to Microsoft Visual C++ Redistributable, you'll have to click to install and then click the restart button when asked. This will restart your computer. You can also click close and restart your computer later, but make sure to restart before continuing this tutorial.
Step 2: Configure Tari
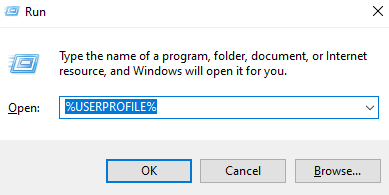
Before we can configure Tari, lets make sure we know how to find Tari. If you saved the location of the Tari install from the previous step, then your good. If not, you can find Tari by pressing the Windows Key + R, which will open up a program called "Run". In that program type "%USERPROFILE%" (without quotes).
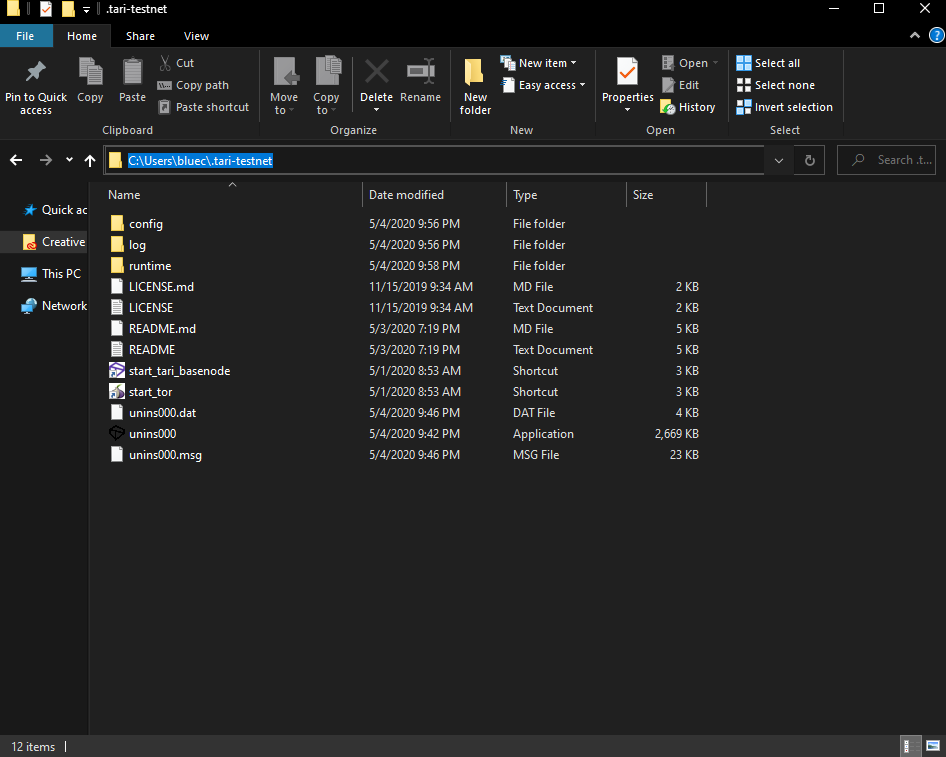
This will open a file explorer with a bunch of folders. The one we are looking for is called ".tari-testnet"
Storing the Tari blockchain on a second hard drive
You can skip this step if you want to store the Tari Blockchain on your main hard drive.
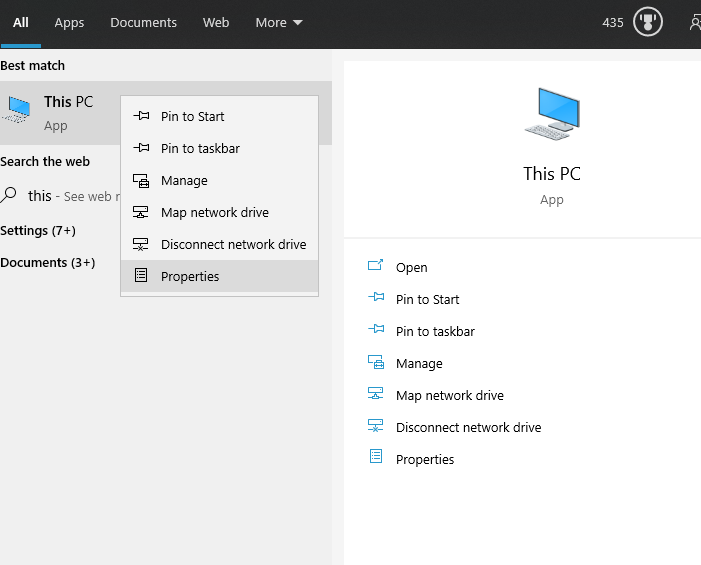
The current version of Tari for Windows requires around 100GB of free space in order to run. If your main C: drive doesn't have this much space, or you rather not store the blockchain on your main drive, you may wish to use a secondary drive instead. You can check how much space your hard drive has by pressing the window key and typing "This PC"

Inside of the ".tari-testnet" folder, there is a folder called "config". Inside of that folder there is a file called "windows.toml". Open this file in your text editor of choice. Search for the text (data_dir="rincewind") (without parenthesis). To save the blockchain on your D drive, place that text with this (data_dir="d:\tari\rincewind") (without parenthesis). If you wish to use any other letter drive, replace the D with the letter you are using.

Mining Tari
You can skip this step if you don't plan on mining Tari.
Inside of the ".tari-testnet" folder, there is a folder called "config". Inside of that folder there is a file called "windows.toml". Open this file in your text editor of choice. Search for the text "num_mining_threads = 1" (without quotes). Change the 1 to however many threads you want your CPU to mine with. You can look up how many threads your CPU has if you want to mine with all of them. If you don't know what CPU you have press the window key and type "This PC" but instead of clicking on This PC, right-click it instead and click on properties

Step 3: Running Tari
Make sure you save your config file before closing it if you made any changes to it.
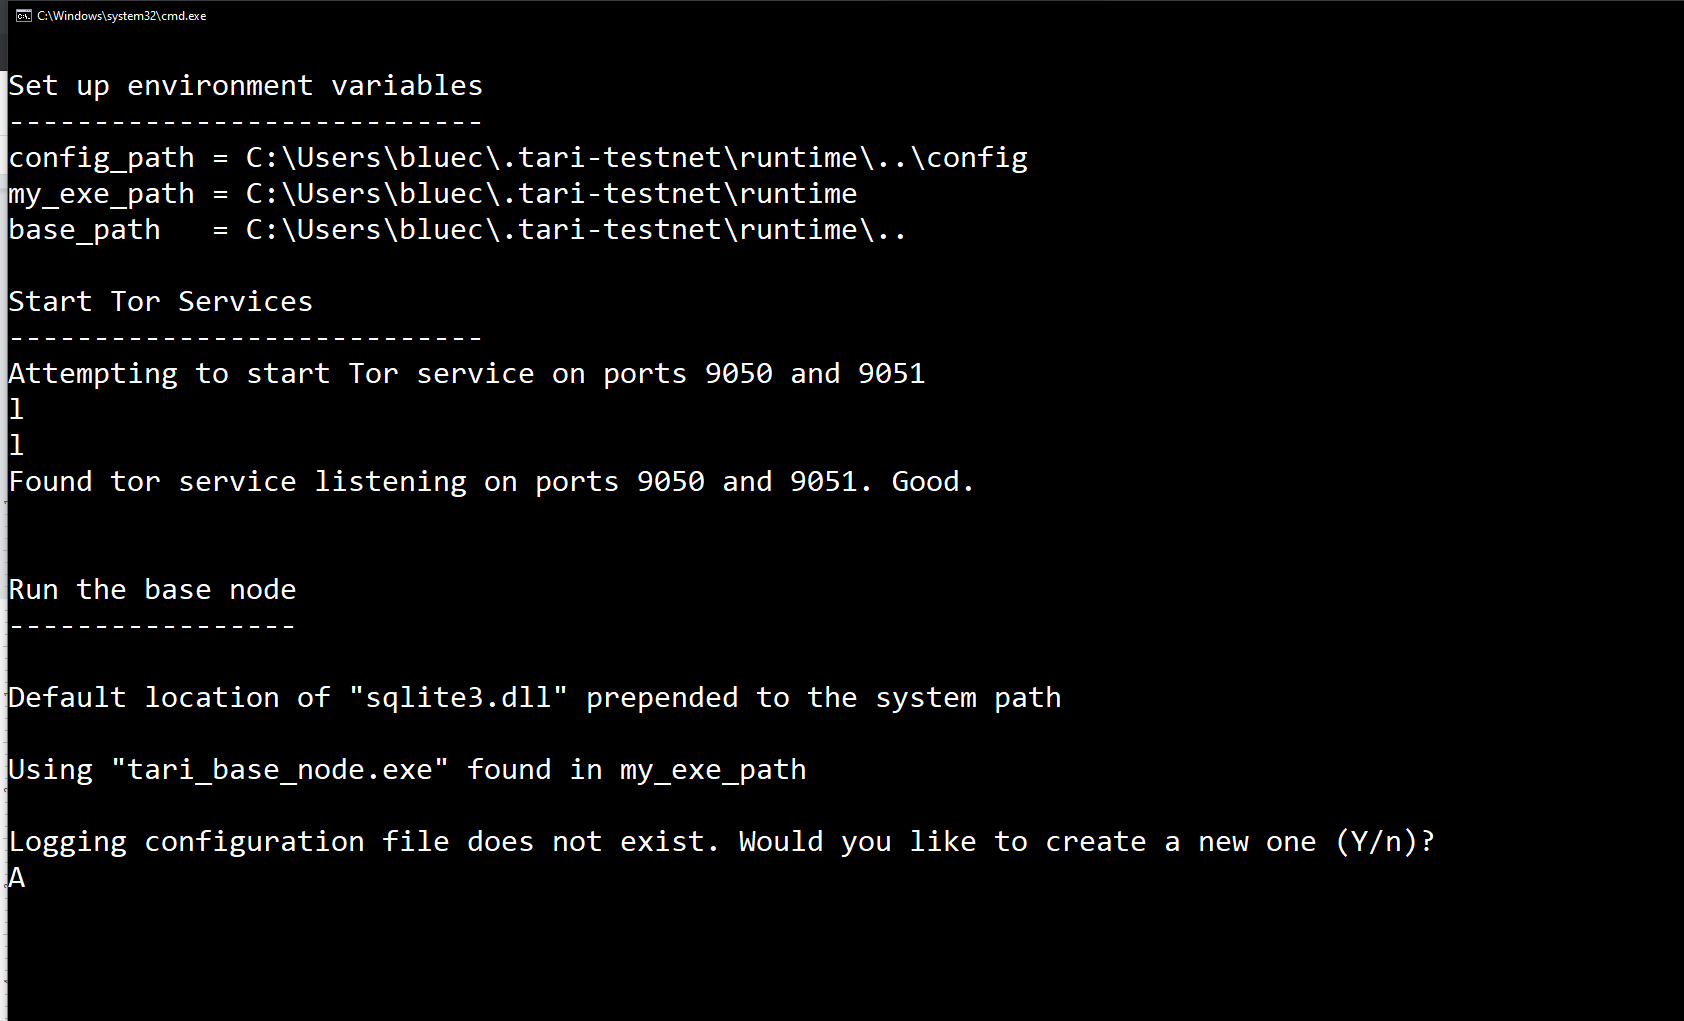
Inside of the ".tari-testnet" folder, there is a folder called "runtime". Inside of that folder, there is a batch file called "start_tari_basenode". Run it. You will soon be asked a question. "Logging configuration file does not exist. Would you like to create a new one (Y/n)?" Type Y and press enter.
You are now connected to the Tari network! If you use the list-peers command you will see your connections to other nodes. Once your node is done syncing it will start mining. You can use the toggle-mining command to change this.